10 Best AI Tools That Create PowerPoint Slides (Ranked & Examples)


Forbes found that most people stop listening to a presentation after the initial 10 minutes, which isn't nearly enough time to cover all your slides. This makes creating a presentation that keeps your audience's eyes locked in both crucial and challenging.
That's a lot of pressure. But don't worry; one surefire way to keep your audience informed and engaged from start to finish is to create an interactive presentation.
In fact, 70% of presenters believe that interactive content helps engage the audience, and 68% of people find interactive presentations more memorable.
In this article, we'll break down how you can easily create an interactive presentation in eight easy steps, with little to no design skills needed. Whether it's making an interactive presentation for marketing, sales, training materials, or potential clients, we've got you covered.
The first of many interactive content best practices is to find something new and original to share with your audience. Besides the sites shared on our blog post on how to find interesting stories in numbers, you can also consult the latest studies and research on a particular subject.
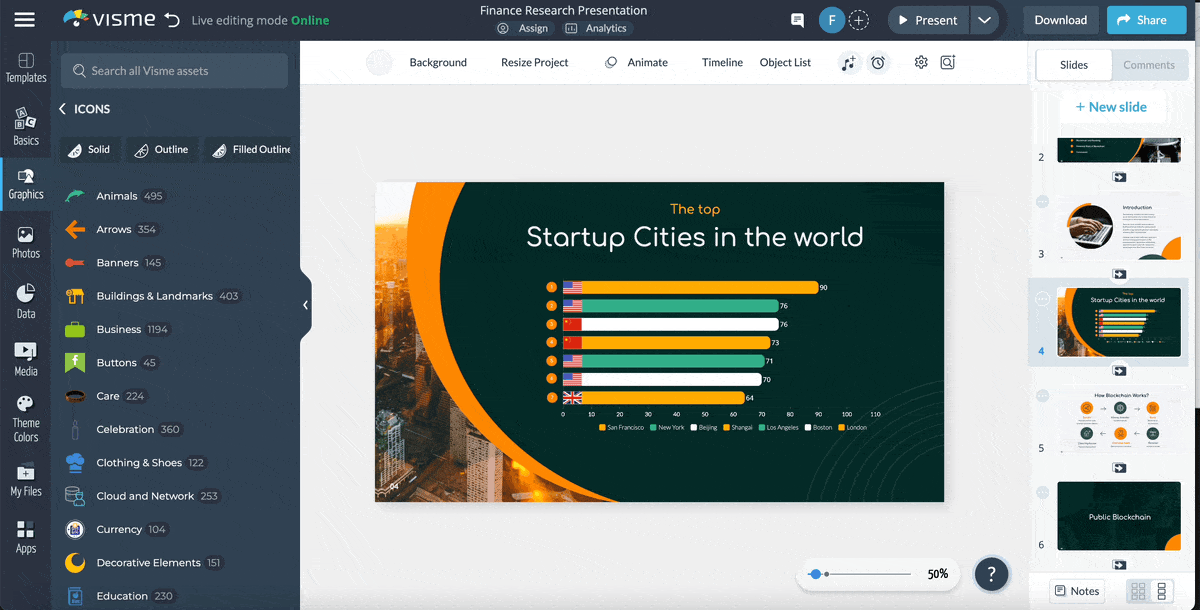
In this case, we did a Google search for "study best startup cities 2024" and used the top result on the SERP (search engine ranking page). We used Visual Capitalist's study on the top startup cities worldwide.
However, if you already have the data you want to visualize, you can skip this part and proceed further with your own data.
Next, we brainstormed ways to visualize this information in an engaging and interactive manner. For example, the data we chose is about the best startup cities worldwide, so we could use an interactive map from Visme to visualize it. We would visualize the geographic location of each city and then link these to images of hot startups in each entrepreneurial hub.
Find inspiration for interactive stories and visualizations by visiting other educational and media sites, such as NYTimes.com and Bloomberg’s interactive news sections. Visme offers 20+ types of charts and graphs, including bar graphs, pie charts, bubble charts and more. You can also choose from 30+ types of data visualization tools like progress bars, population arrays and radial gauges to visualize your data effectively.

And the best part is that the data visualizations you choose are also interactive. You can animate the charts and graphs, add 3D data widgets and include interactive elements to them.
We also needed a tool to help us visualize and organize those thoughts for a collaborative and effective brainstorming session. That's where Visme's online whiteboard came in handy.
We used it to sketch out our map, add notes and move things around freely until we were happy with the layout.
The tool has all the necessary whiteboarding features, including hand-drawing capabilities, notes, shapes, arrows, emojis and more. You can use Visme's whiteboard too! It's a great way to collaborate with your team and see your ideas take shape.
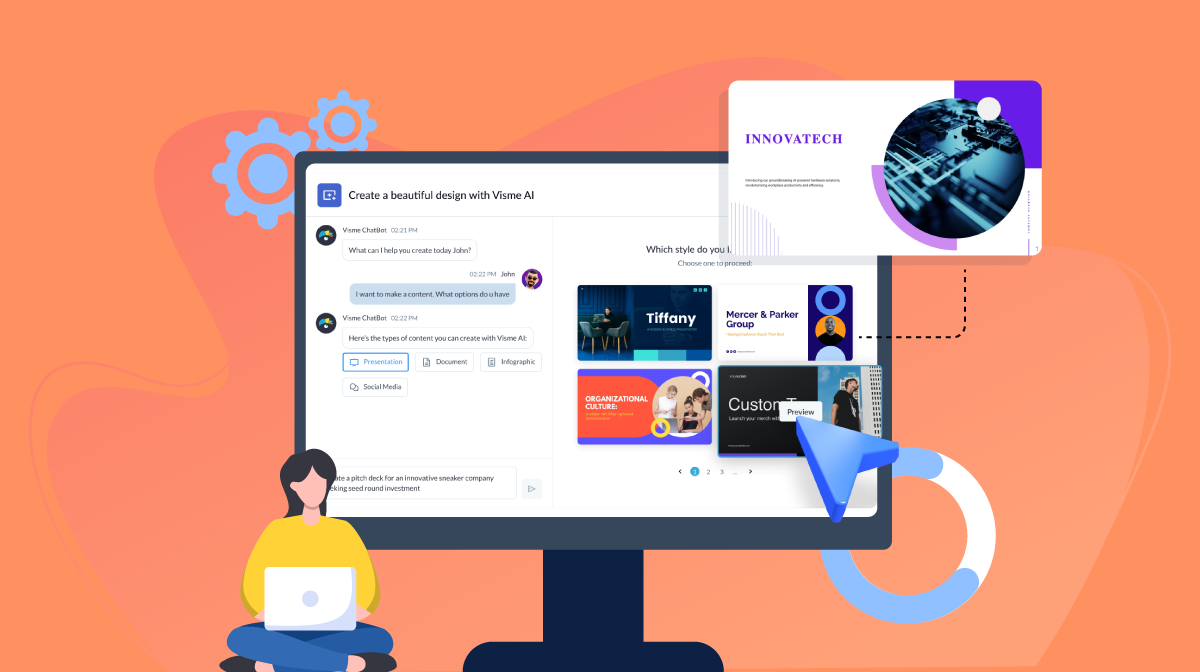
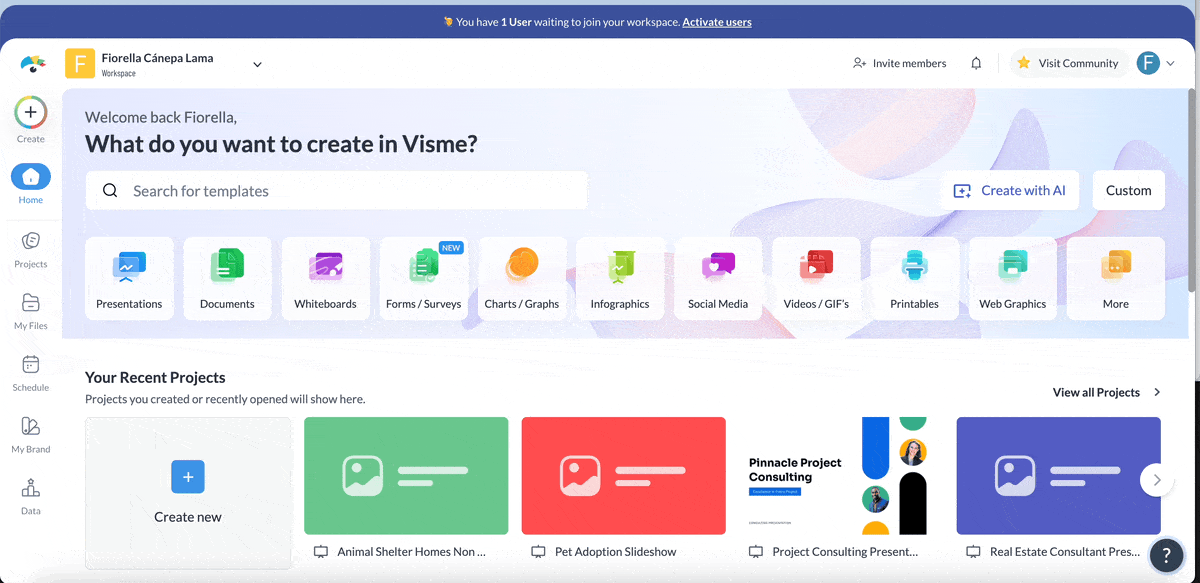
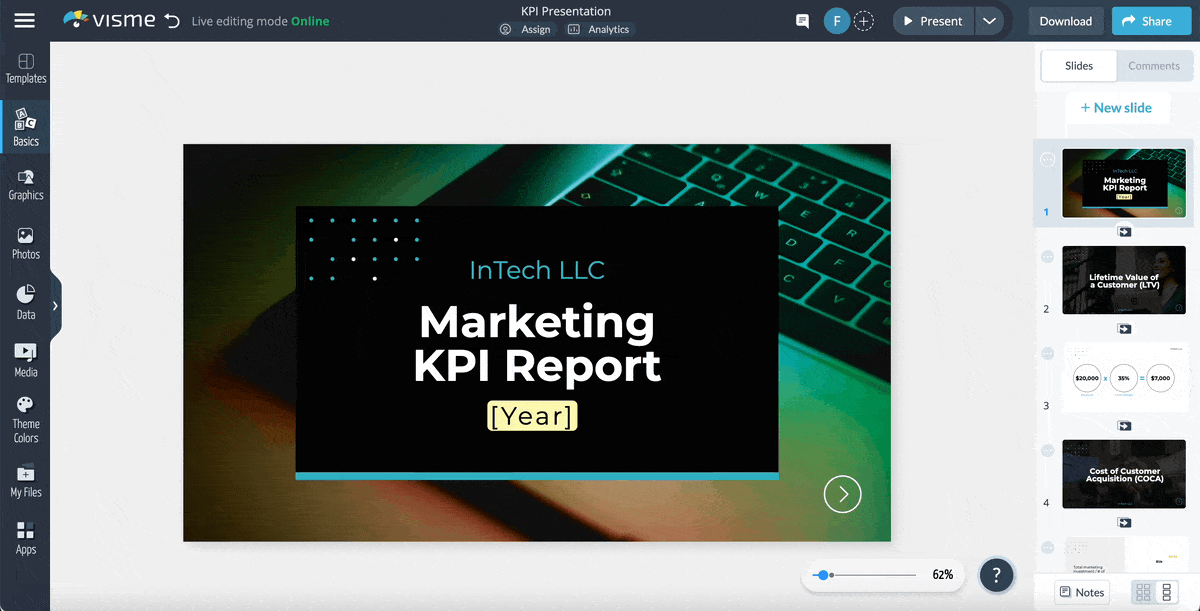
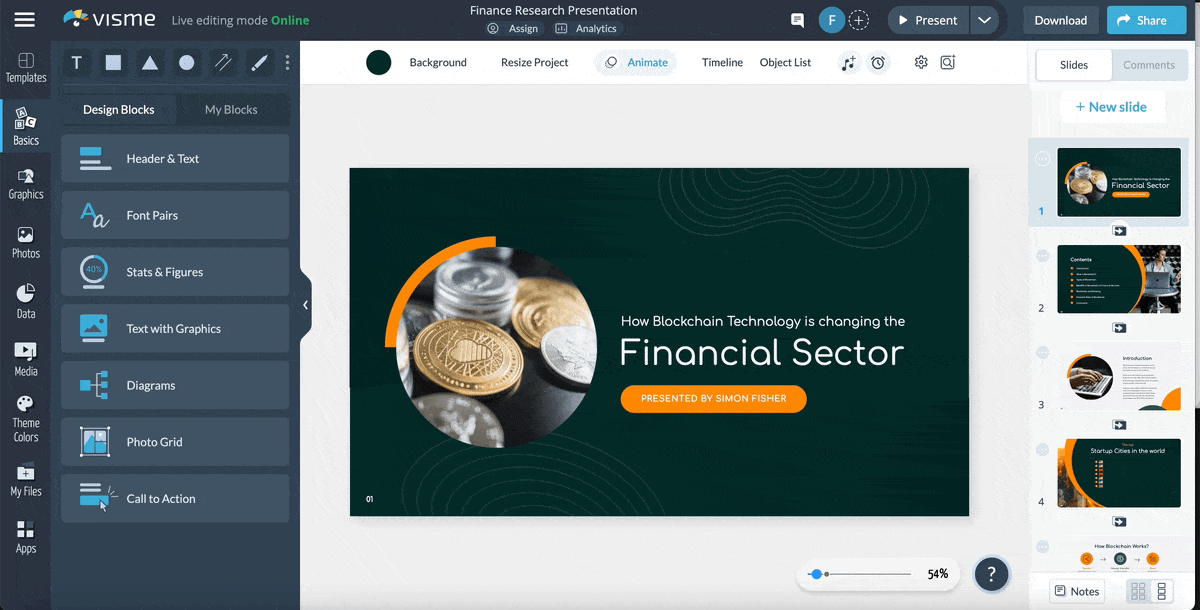
If you don't already have a Visme account, you can easily and quickly create one by simply going to www.visme.co, entering your email and name and choosing a password. Once logged in, click on "Create New" from the left panel, go to "Projects," and then choose "Presentations" from the drop-down menu to explore all the available templates.
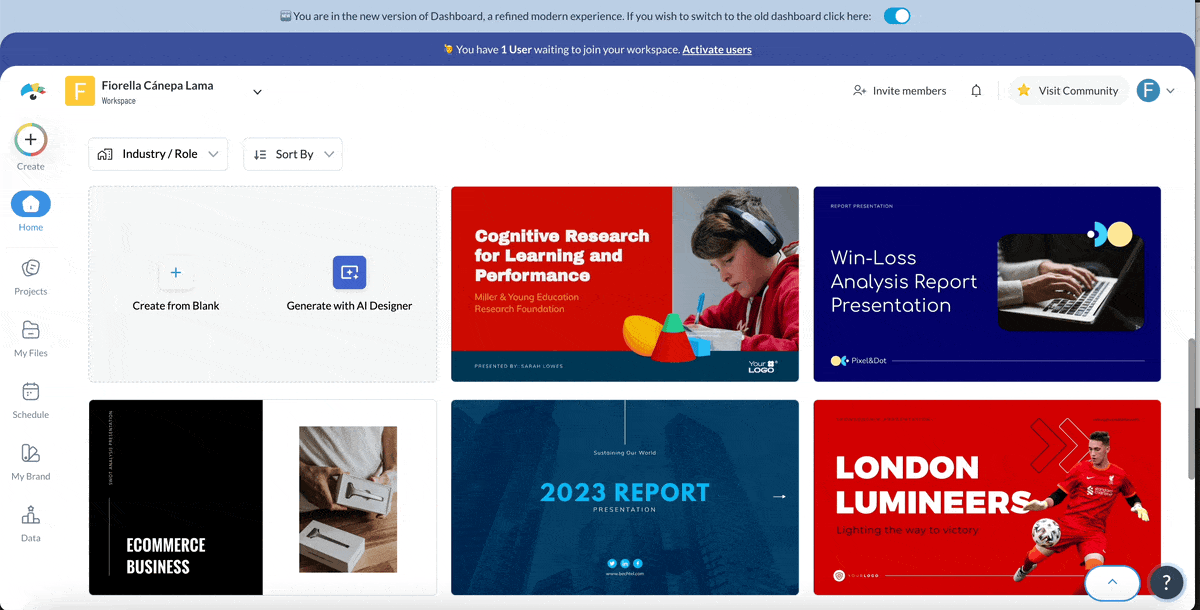
Visme offers a wide range of presentation templates to suit different needs. You can find templates for business, education, marketing and more.
To choose the right template, consider your target audience and the message you want to convey. Look for a design that complements your content and is easy to customize.
If you’re unsure, start with a simple, clean template. You can always add more elements later. Picking a template that aligns with your goals will save time and help you create a more effective slide deck.
Customizing your slides is where you can give your presentation a unique and personalized look. Consider incorporating interactive content to further engage your audience.
Here are some of the ways you can customize them:
Start by adding or editing the text on your slides. Click on any text box in your template, then type in your own content. You can change the font, size, color and alignment to match your style. Keep your text clear and to the point for better readability.
Next, changing the colors can significantly enhance the visual appeal of your slides. To do this, select the element you want to change and open the color picker from the toolbar. Choose a color that aligns with your theme or brand, and apply it to other elements for consistency.
With Visme's brand design tool, you can include your branding elements in any project with just one click. All you have to do is copy and paste your website URL into the brand wizard, and the tool will extract your branding elements like brand colors, brand fonts and company logo and save them under the brand area.
Then, you or anyone in your team can apply the company branding to any project in just one click.

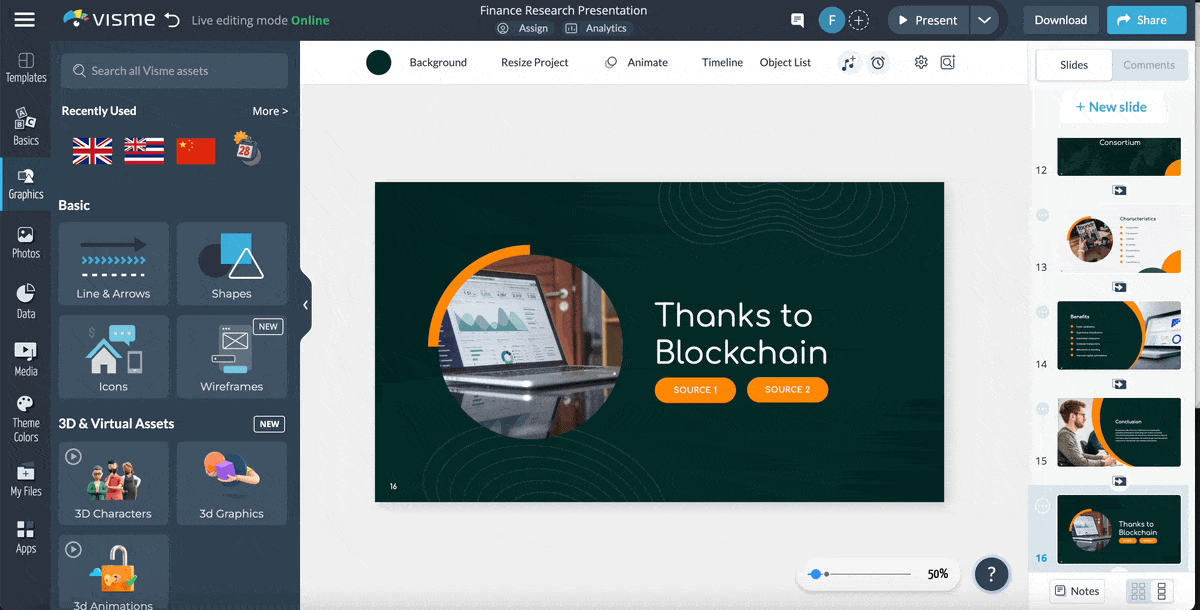
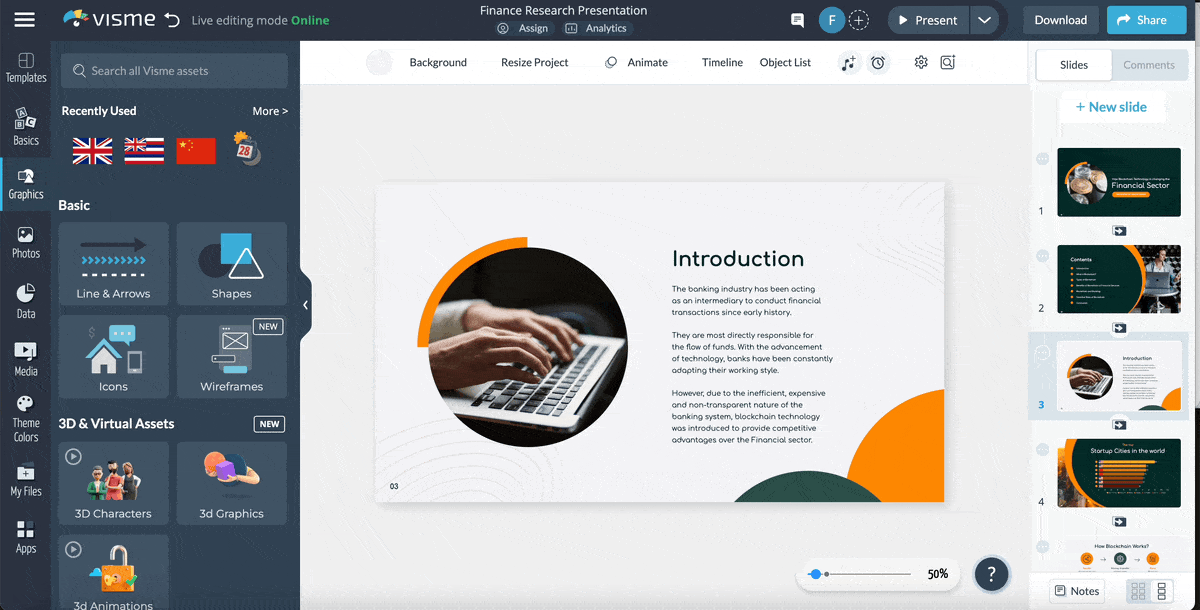
Adding multimedia such as images, videos and audio can make your slides more dynamic. You can upload your own images or choose from Visme's stock photo library.
Click the "Photos" icon in the left sidebar, then drag and drop your image onto the slide or use the "Upload" button. Use the built-in search bar in the "Photos" panel to find free stock photos. Double-click on an image to open the image editor, where you can crop, resize, apply filters, and more.
You can use Visme's AI image generator to create a unique image for your presentation. Just explain the tool to your requirements and choose your style. The tool will generate the image for you in seconds.
Also, use Visme's AI image touch-up tools to easily upscale, unblur, enhance or edit your images.
To add videos, click "Media" and then choose the "Videos" option to upload a file or embed one from YouTube or Vimeo.
Under "Media," you also get the option to include an audio file by choosing one or uploading your own.
Another powerful customization tool Visme offers is the inclusion of icons and illustrations. To add vector icons, 2D or 3D icons, or 2D and 3D illustrations, navigate to the "Graphics" tab in the toolbar.
You can choose from icons, wireframes, shapes, illustrations and more. Filter the results to find animated or static options that best match your content. Selecting an icon or illustration will automatically place it onto your slide, where you can resize and position it as needed.
For a more personalized touch, use Visme's 3D animated character creator, available under the same "Graphics" tab. You can design custom characters and animate their movements to interact with your slides, adding an extra layer of engagement to your presentation.

Click and drag to move elements around or use resize handles to adjust the size of text boxes, images and other elements. You can add new sections or elements using the "Add" button. A clean and easy-to-follow layout keeps your audience focused on the content rather than distracted by a cluttered slide design.
Now comes the most exciting part of this process: adding interactive elements to the presentation that make your presentation come alive. With Visme, you get a variety of interactive elements to add to your projects. For example, you could embed an interactive training module or link to an interactive blog post for further exploration.
Here's how to do that:
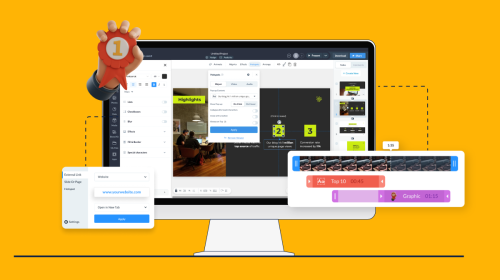
To add a hyperlink to any element, such as text, image, or shape, you must first select the element. Once selected, navigate to the "Actions" icon and choose "External Link".
A field will appear where you can paste your desired website URL, social media link or email address. After pasting the URL, click "Apply" to activate the hyperlink. This will make the selected element clickable, leading viewers to the specified URL when interacting with it.
To add a hover effect to an element, begin by selecting the specific element.
Next, go to the "Actions" tab in the top toolbar. Once in the "Actions" tab, you can explore the "Hotspot" section.
Choose your pop-up content and select "On Hover" in the "Show Pop-Up" option. This adds an extra layer of interactivity to make your design elements dynamic when hovered over by a cursor.
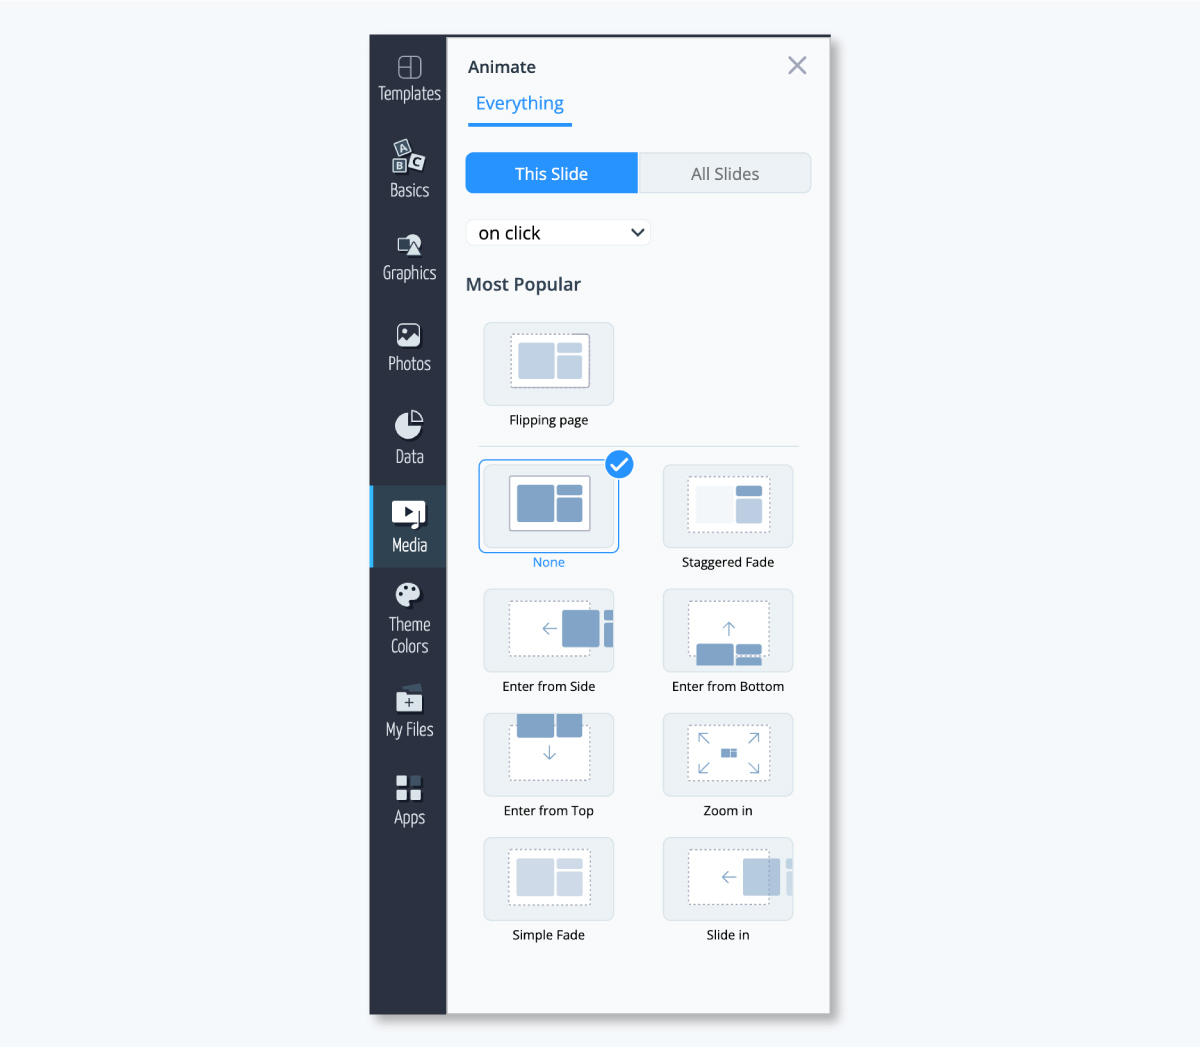
Animations can add a sense of motion and attract attention to key elements in your interactive presentation. To incorporate animations, select the element you wish to animate. Click on the "Animate" tab to find animation options under the "Animate" section. Here, you have the flexibility to choose between entrance and exit animations.
Additionally, you can customize aspects such as duration and timing to synchronize with the rest of your presentation.
For slide transitions, start by clicking on the slide you want to transition from in the right sidebar. After selecting the slide, click on the "Animate" button from the top toolbar.
Clicking on this menu will give you various transition effects from which to choose. Select a transition effect to enhance the flow between slides, providing a more seamless and engaging viewing experience.
Additionally, Visme allows you to add flipbook effects to your documents. This effect allows your audience to experience the sensation of flipping through the pages of a real document or book. It's an excellent way to add some extra flair to your documents and make them more captivating.
Read our comprehensive guide on how to make a presentation interactive to get more detailed ideas about these steps.
Other examples of interactive content you could incorporate include interactive infographics, interactive comparison charts, and interactive timelines. These visual elements not only enhance engagement but also make complex information easier to understand.
Visme offers several collaborative design features to make teamwork easier when creating designs. Invite your team members via email or a shareable link and allow them to leave comments, annotate certain design elements and edit the project simultaneously.
To share your interactive presentation, use the "Share" button to send via email or link. Set permissions to control who can view, comment, or edit.
Once feedback is received, review the comments and make the necessary changes. This process helps refine your design, ensuring it's polished and ready for presentation.
Additionally, with Visme's workflow management features, the admin gets complete control over a project. These features allow you to assign slides, manage roles, track progress, set design deadlines and more.
The final step in creating an interactive presentation is confidently presenting or sharing your work. Whether you're presenting live or sharing asynchronously, Visme provides all the tools you need to make a strong impression.
Here's how to make the most of your presentation features:
Use presenter notes to guide you during your presentation. You can add these notes directly within Visme to stay organized and ensure you cover all the key points.
Click on the "Menu" icon at the top left corner of your screen and choose "Presenter Notes" to take the notes. Having notes handy ensures a smooth and well-structured delivery.
If live presentations are not feasible, you can record yourself presenting using your device's camera and mic. This feature allows you to share your slides with your voice and visual commentary, making it accessible to your audience at any time.
Click on the "Present" button next to the Download button and hit the "Open Studio" button to access Visme's presentation studio.
To distribute your slideshow, simply click the "Share" button in the top right corner. Visme offers various download and sharing options, including emailing the presentation, generating a shareable link and even embedding it on a website.
You can even share the presentation offline without losing the interactive features by downloading it in HTML5 format.
For live presentations, click the "Present" button in the top right corner to launch your interactive deck in full-screen presentation mode. This feature offers a seamless and professional viewing experience, keeping your audience engaged and focused on your content.
RELATED: 10 Best Interactive Presentation Tools: An In-Depth Guide
If you still need help understanding and creating interactive presentations check out our helpful FAQs section.
When it comes to creating interactive presentations you should be using tools like Visme, Canva, Prezi, or Google Slides. These tools allow you to add clickable elements, live polls, and embedded videos. Include audience engagement features, such as Q&A sessions, quizzes, and animations to maintain interest. Make it accessible on multiple devices to allow for real-time interaction. For more on these amazing presentation tools check our our detailed guide on the best presentation software (+ a full comparison guide).
Here’s a real-life example of an interactive presentation. You can actually play around with various elements of the slides to see their interactivity in full effect!
Made with Visme
Creating an interactive slideshow is key to engaging your audience and offering them an interactive experience that allows them to participate and explore your message.
Use this article as a helpful guide to easily create your slideshow in minutes without any design experience.
Visme also helps you create various interactive experiences for your audience. From presentations and infographics to reports and dashboards, you can use these interactive elements in every project you create.
Sign up for a free account and start creating interactive content that engages your audience and drives results.
Design visual brand experiences for your business whether you are a seasoned designer or a total novice.
Try Visme for free