


How to Prepare and Deliver a Solid Executive Presentation


If you've ever taken weeks, even months, to painstakingly prepare for an important presentation, you know how useful it is to have a recording of your memorable delivery to share with others.
Here at Visme, we're excited to tell you that you can easily record your own voice over right within this online presentation design tool.
This allows you not only to create self-running presentations or stand-alone slide decks but also narrated software tutorials, audio presentations and visual stories with narration.
All of these can be easily shared across all social media platforms with just the click of a button or embedded into your own website or blog.
You can also repurpose written content into a narrated presentation, which is one of the best ways to make the most of every marketing dollar you spend. To learn more about repurposing, you can read our post on 11 smart ways to repurpose your content.
To get started, follow this simple step-by-step tutorial on how to create a narrated presentation in Visme by adding a voice over. We'll also help you learn how to add background music to your presentation to make it more dynamic and engaging.
The video tutorial below will walk you through the process of creating a presentation in Visme. Keep scrolling for a detailed, step-by-step guide on how to create a narrated presentation.

To create a slideshow with voiceover, you'll need to log in to your Visme account and create a new project. If you don't already have an account, you can easily create one here for free.
Enter your name, email and password to register. Once you're inside the dashboard, click on the "+ Create" button on the left-hand side of your screen.
Click on the "Presentations" tab to view all the customizable templates inside Visme. Pick a presentation template that best fits your content and industry, and click on "Edit."
You can also choose to start with one of our presentation themes. Each theme is packed with hundreds of fully designed slides that you can mix-and-match for your own use.

Next, edit and design your presentation using all the graphic assets Visme has to offer, including icons, images, text and interactive elements such as video and maps.
Add charts, maps and data widgets to visualize boring numbers. You can also upload your own images and fonts or embed third-party content, such as surveys, quizzes and polls.
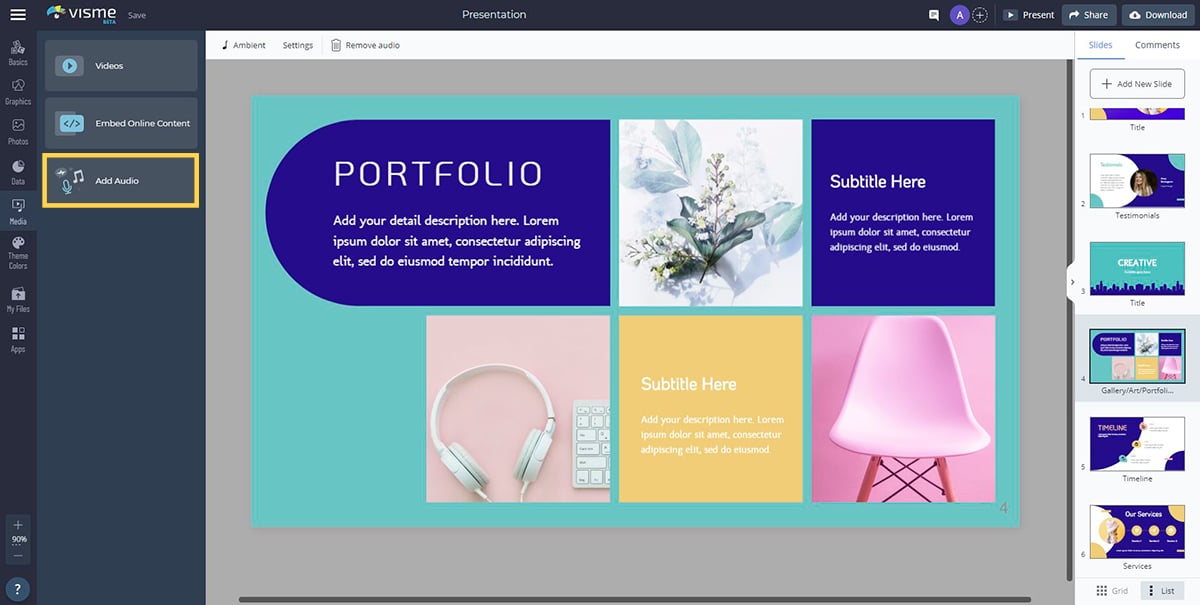
Now, open the Media tab in the left-hand panel, and click on "Add Audio".
Visme offers dozens of free audio clips you can attach either to individual slides or set as background music for your entire presentation. If you've subscribed to a paid Visme Plan, you'll have access to all of the free audio files in the library.
To create your voice over slides, you can also upload your own audio file from a voice actor or record your voice over directly in Visme.
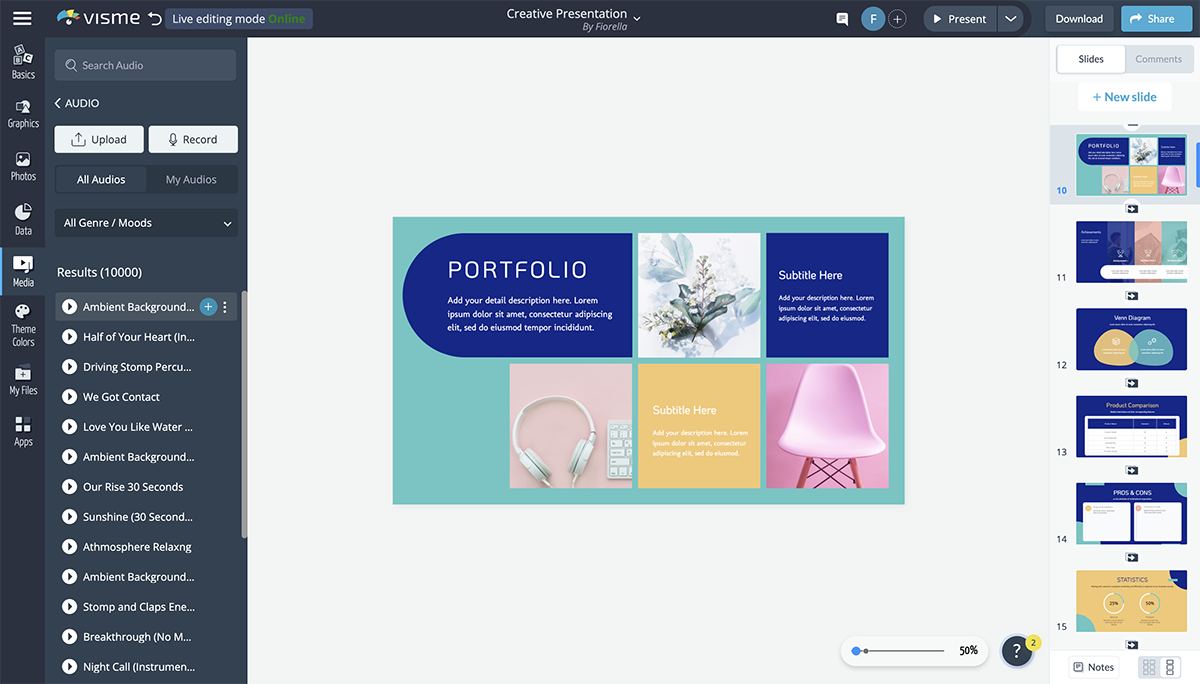
To attach an audio file to the current slide, click on the gear icon next to it and select "Attach to Current Slide". You can preview each clip by clicking on the Play button next to it.
If you decide to choose another file or want to remove an audio clip from a slide, you can detach it by clicking on the gear again and selecting "Detach."
Here’s how to do a presentation with voice over using Visme.
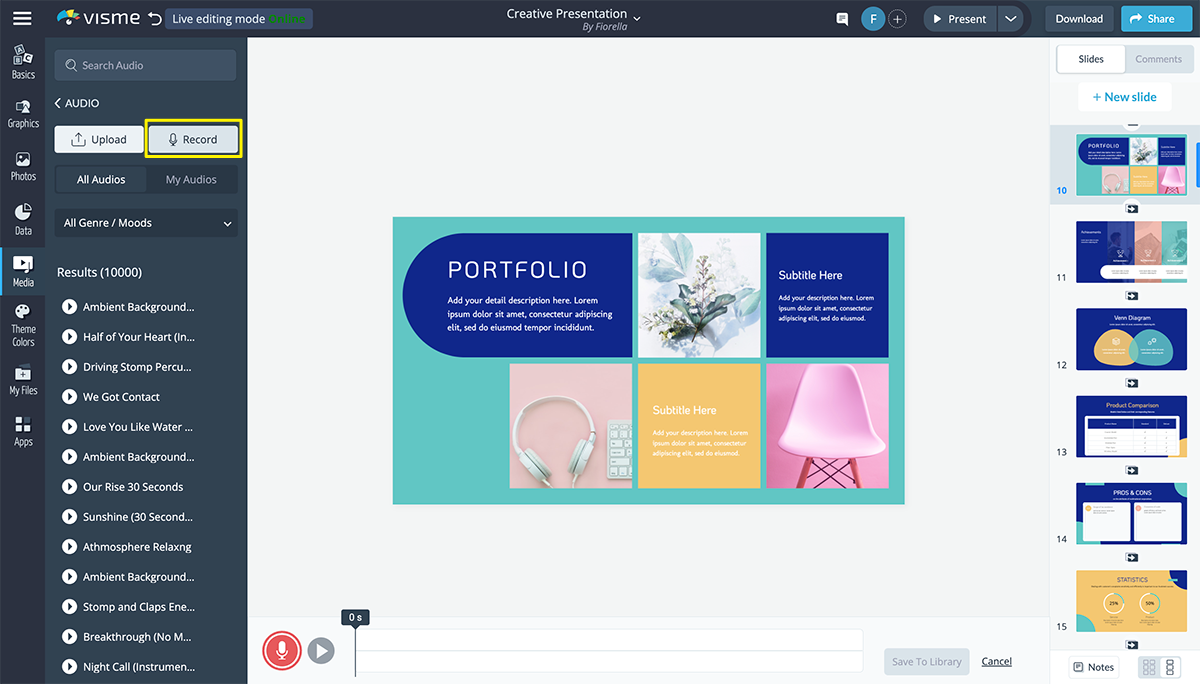
Record your own audio by clicking on the "Record" option to the top right of the "Add Audio" tab. Once chosen, you will see a red record button appear below your slide.
To start recording your own narration within Visme, simply click on the red button and speak into your microphone. Make sure your microphone is working properly before recording.
Visme also integrates with apps like Livestorm, so you can conduct a thorough audio check using Livestorm before recording your voiceover. This step ensures that your microphone is working properly and the quality of your recording is top-notch. Poor audio can distract your audience and detract from your message, so always test first!
You can preview your recording before saving it to the library by clicking on the Play button. Once you're satisfied with your recording, click on "Save to Library."
Your audio will automatically be converted to MP3 format, added to your Audio Library and attached to your current slide. You can then rename it by double clicking on the file name or detach it from the slide by clicking on the gear and selecting "Detach."
If you’re looking to make an audio presentation, the process is super easy. After adding your video to the library, you can customize how it is played.
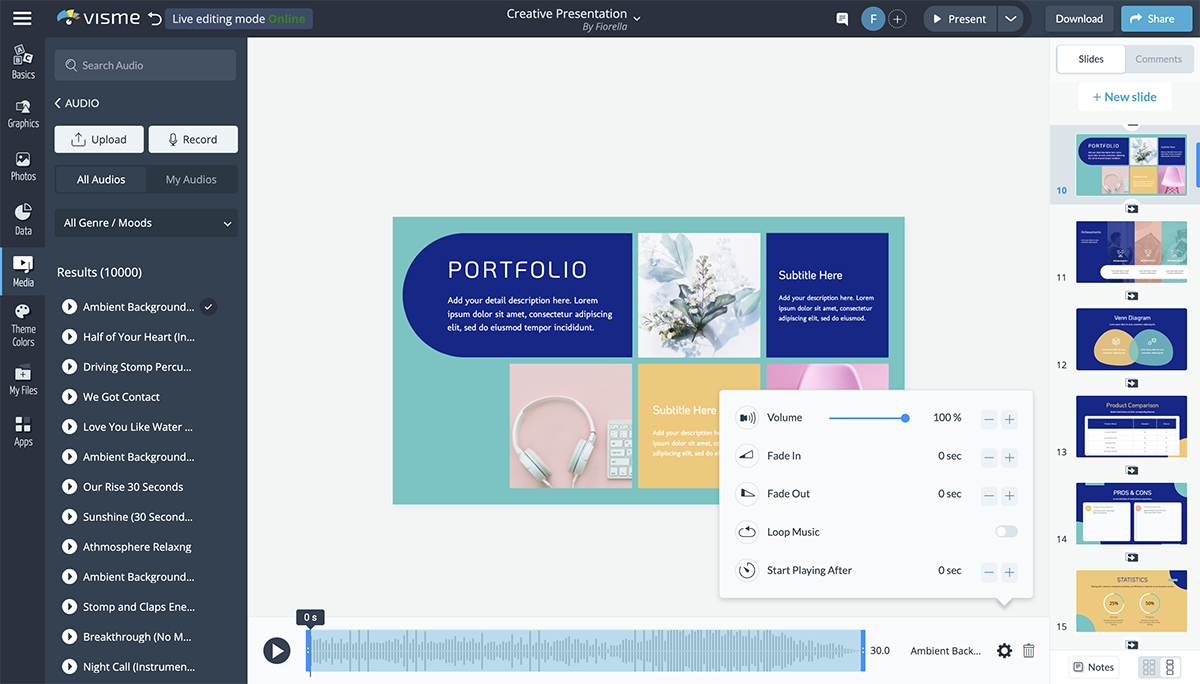
To customize the way your audio presentation is played, simply click on "Audio Settings" at the top. You'll see options at the bottom to trim your clip or adjust more settings by clicking on the gear icon.
In Visme, you can also customize the time your audio takes to fade in and out. For example, if you want your audio to quickly fade in at the beginning, you can set it for 1 second. Or, if you want your audio to slowly fade out, you can set it for 3 or 4 seconds.
Also, you can set the time at which your audio will begin. If you want your narration to start 5 seconds into your presentation, you type in a value of 5 in the "Start Playing After" setting.
You can also reduce or increase the volume of your audio by inputting any value up to 100%. Finally, you can have the audio loop automatically by enabling the "Loop Audio" setting.
The advantage of having the option to tweak the settings for each individual audio track is that it allows you to customize it according to the content presented on each slide. For example, for slides with long animations, you might want to enable the "Loop Audio" setting.
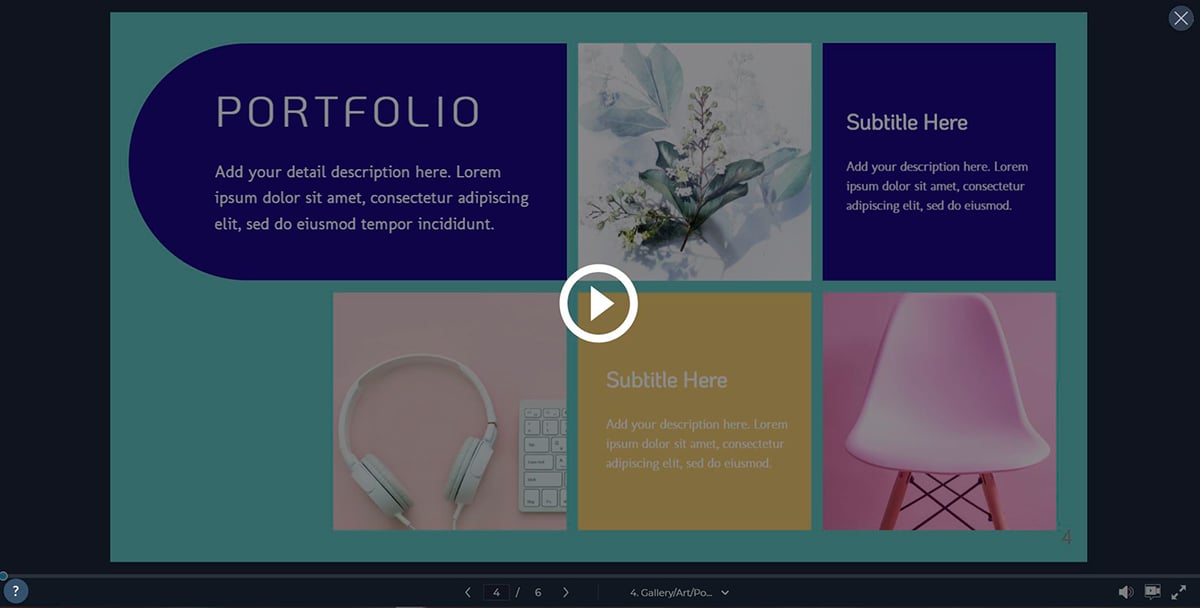
To see if your audio narration or voice over is effectively complementing your visuals, select the "Present" option at the top-right corner of the screen to preview your slides.
Along with your audio narration, you can add background music to your presentation.
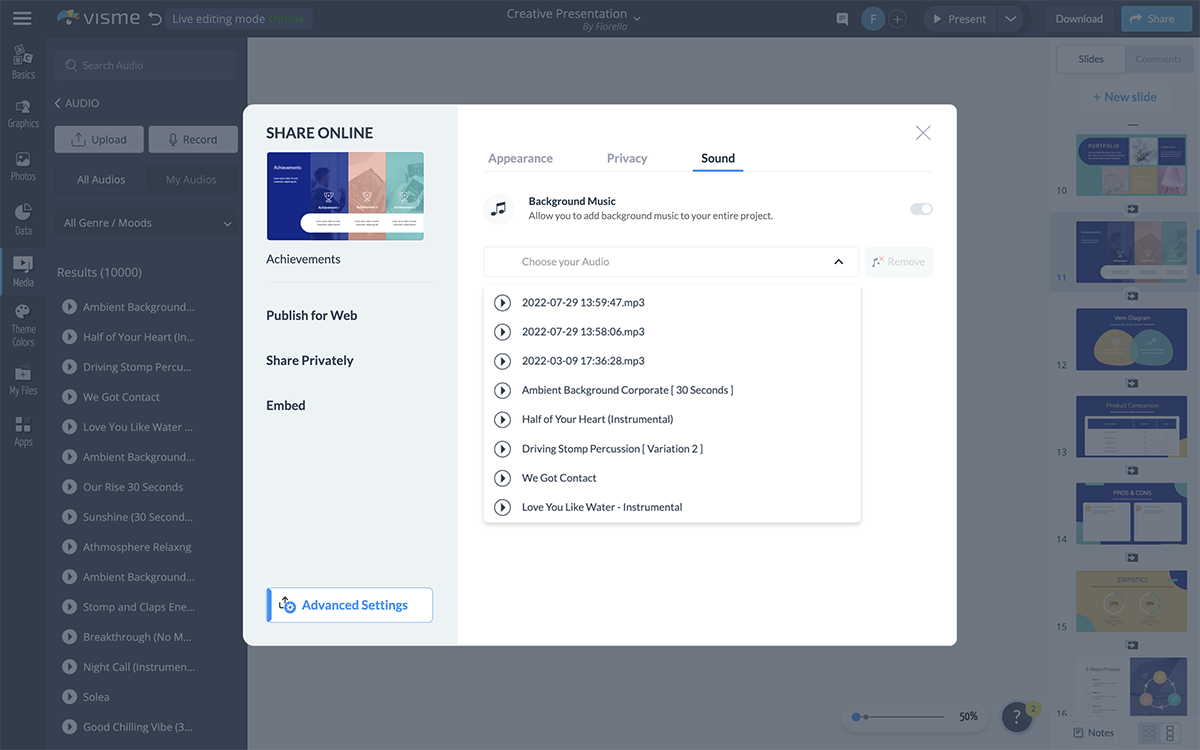
Click on "Share" at the top of your screen and select "Advanced Settings" at the bottom-right of the window. Click on the "Sound" tab and then enable the "Background Music" setting.
Here, you'll be able to select your uploaded or recorded audio file from the drop-down menu or choose one of the free audio clips from the library.
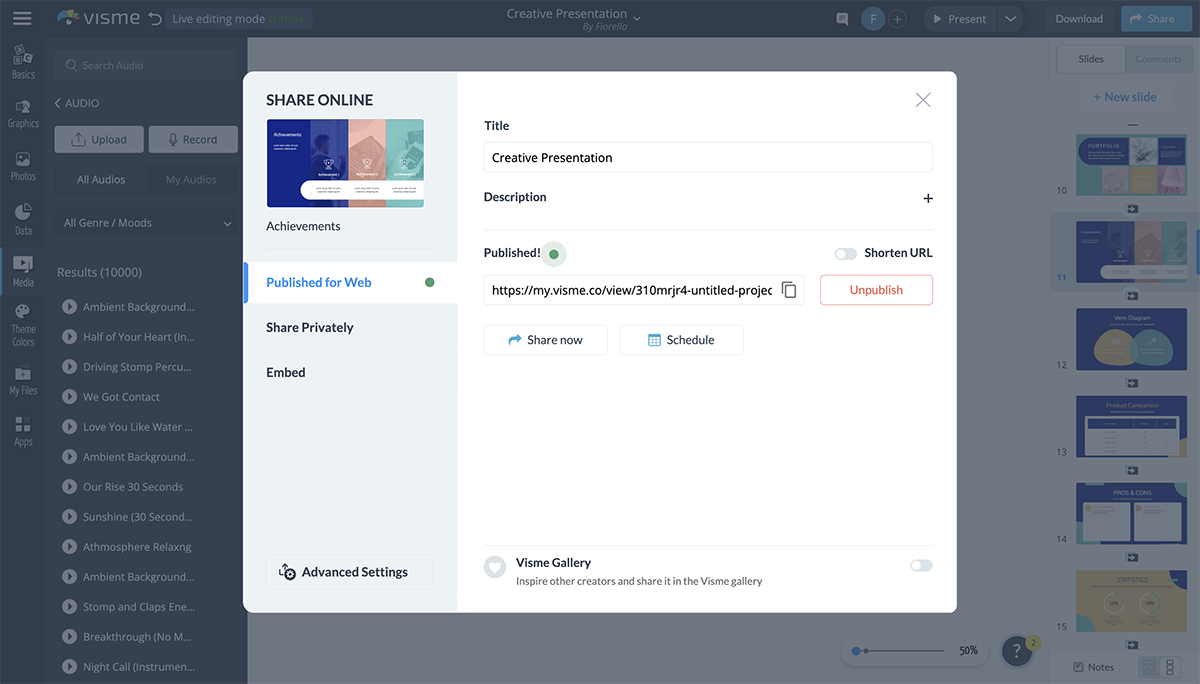
Once you're satisfied with your voice over, you can share your presentation with the world by clicking on the "Share" button at the top and then choosing one of the three options below:
You can also choose to download your narrated presentation as an HTML5 or editable PowerPoint file to present offline or share with a pre-recorded voice over.
Ready to nail your audio presentation? Here are five useful tips for adding a voice over to your presentation.
This is a critical step when prepping for your presentation voice over. Start with vocal warm and breathing exercises. Then do the initial takes and record them to identify and fix any issues that could hamper your delivery. These activities help warm your vocal cords, ease you into the right voice and ensure excellent delivery.
When recording your audio, you want to avoid poor production quality. Otherwise, you risk losing your audience's attention. According to Statista, 33% of people said they’ll abandon a video if it had poor audio quality.
Invest in high-quality microphones that produce balanced audio and clear dialog and eliminate background noise. The good news is that you don’t have to blow your budget on a full studio setup with expensive mics. You can find budget-friendly microphones to help provide professional-grade audio quality.
The best part? With a PowerPoint voice over software like Visme, you’re sure to have top-notch audio quality. The software comes with features that take your audio and voiceover recording to a whole new level.
Where you record your presentation voice over can make a big difference in your audio output.
Microphones tend to pick up lots of background noises. So even if you don’t have access to a professional studio, find quiet and ambient environments. Also, opt for spaces with less reverberation and echo.
We get it. No place can be entirely silent, but you’ve got to be ingenious. For example, if you’re at home, you can stay away from the windows. You could even drive to a remote location and record in your car. It’s all about thinking outside of the box.
Speaking with confidence can be a game-changer when it comes to presentations. It creates a great first vocal impression and ensures your audience pays attention to you.
One way to sound confident is to speak in a relaxed voice and moderate pace. Get rid of the tension by engaging in exercises that relieve stress. Then practice repeatedly to get familiar with your content, transitions and visual aids. Where necessary, infuse a bit of humor to lighten the mood and get you more comfortable.
During the presentation with voiceover, you need to pause between slides.
This won't appear odd. Rather these pauses will give you a chance to catch your breath, calm down and organize your thoughts. Pausing also helps speakers avoid filler word like um, uh, er, which can make them sound uncertain.
Another upside of pausing is that it allows the audience to think, reflect and take in everything you’ve said.
Creating a narrated presentation with your own voice over in Visme is super easy. All it takes is a few clicks and your presentation is ready to be shared with the world.
Sign up for a free account today and take it for a test drive.
Have you created an interactive presentation in Visme yet? Don't hesitate to share your best projects with us or tell us about your experience using the Audio Library and Record features.
Just drop us a comment below, and we'll get back to you as soon as possible.
Design visual brand experiences for your business whether you are a seasoned designer or a total novice.
Try Visme for free![3 Real-Life Elevator Pitch Examples to Help Nail Your Own [Including Templates]](https://visme.co/blog/wp-content/uploads/2023/02/3-Real-Life-Elevator-Pitch-Examples-to-Help-Nail-Your-Own-Thumbnail-500x280.jpg)