


[New Feature Roundup] Content Creation Has Never Been Easier
![How to Add Photo Filters to Your Images [New Feature]](https://visme.co/blog/wp-content/uploads/2018/01/How-to-Add-Photo-Filters-to-Your-Images-New-Feature-300x173.png)

Written by:
Nayomi Chibana

In the age of Instagram filters and photo-editing apps, it's now easier than ever to transform an everyday photo you took with your cellphone into a beautiful image of a sun-kissed paradise or a mysterious shot of a Nordic landscape.
Visme, an all-in-one visual content tool, now allows you to do the same with its new selection of photo filters. Whether you're looking for a vintage, retro feel or a smoky and intense look, we've got you covered. You can choose from any of these 19 filters.
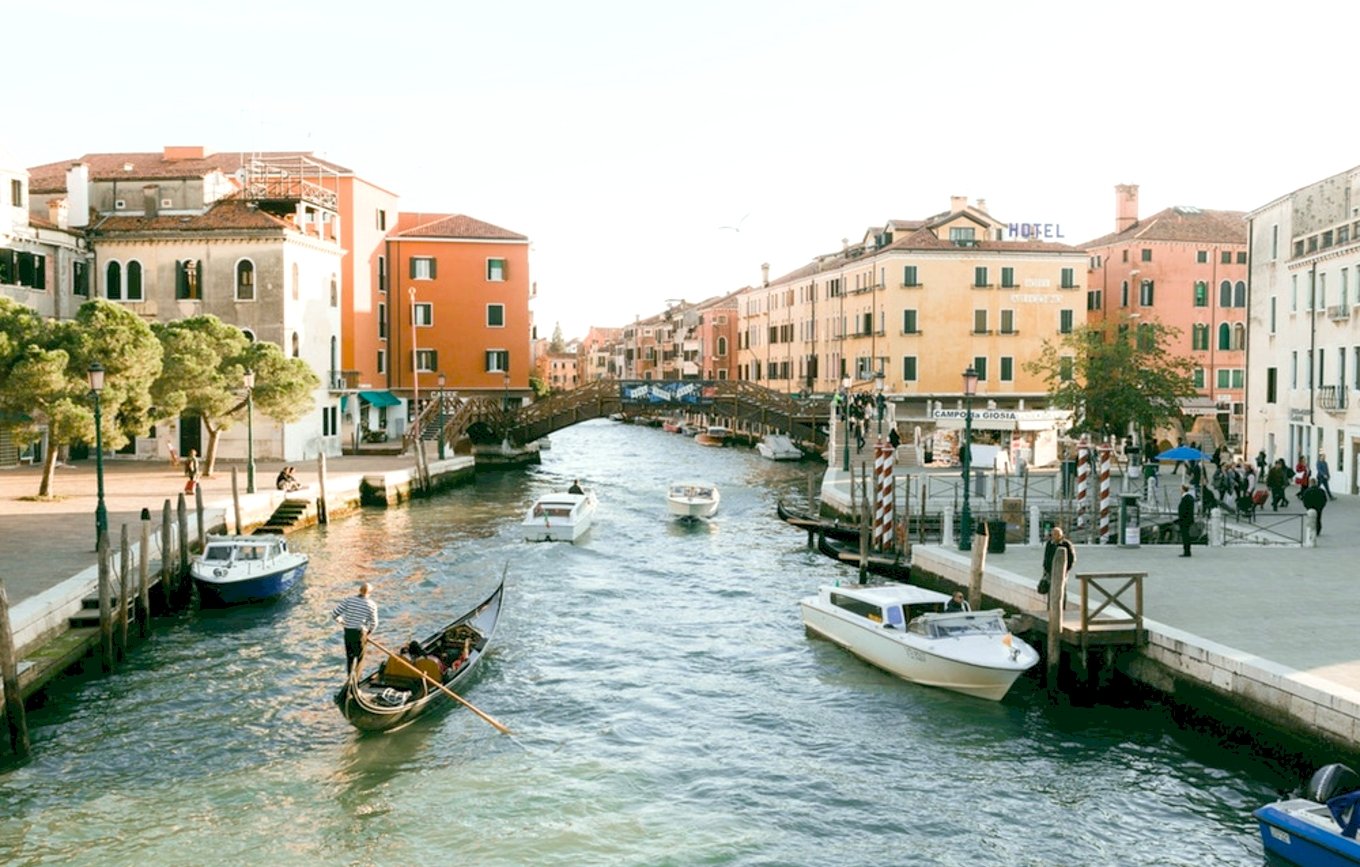
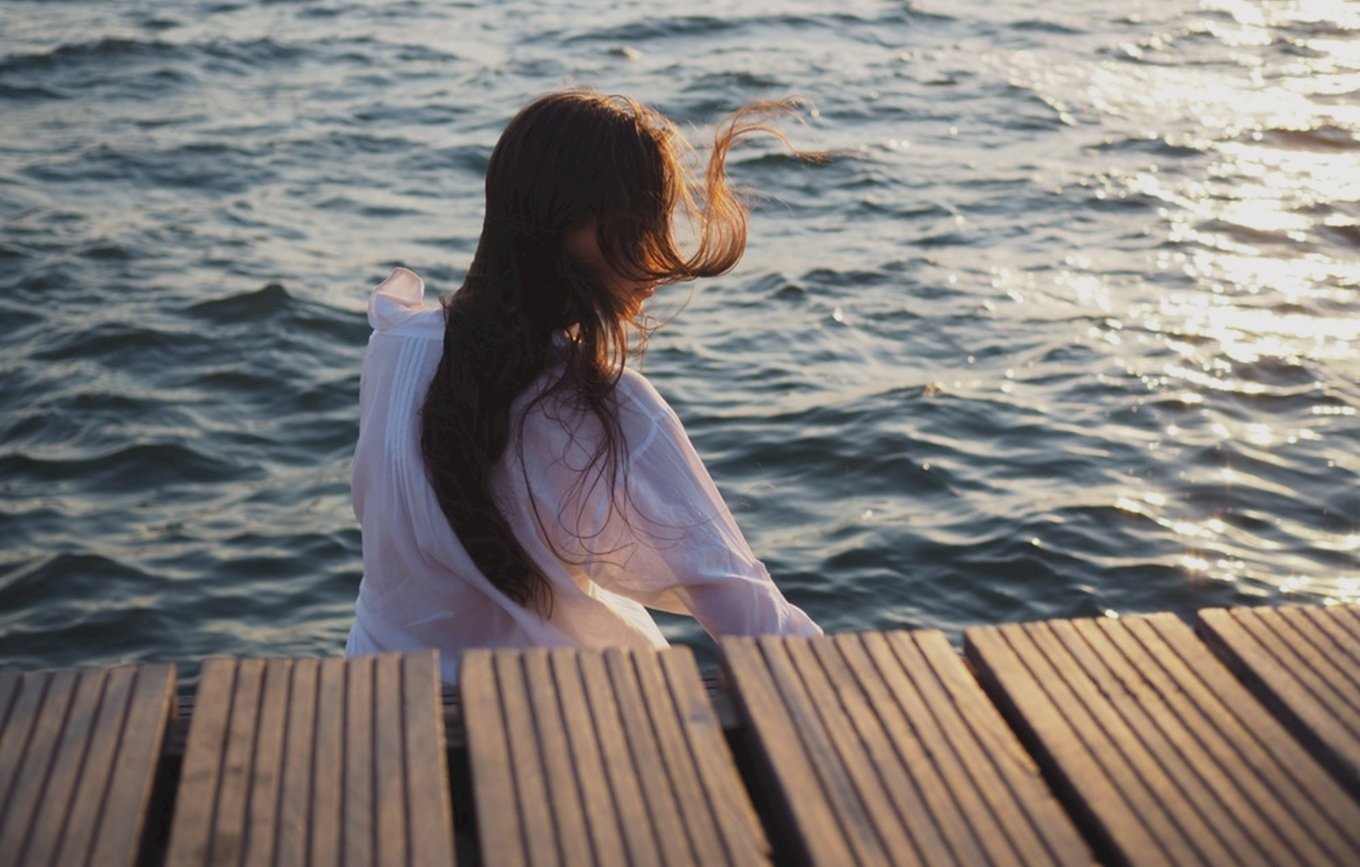
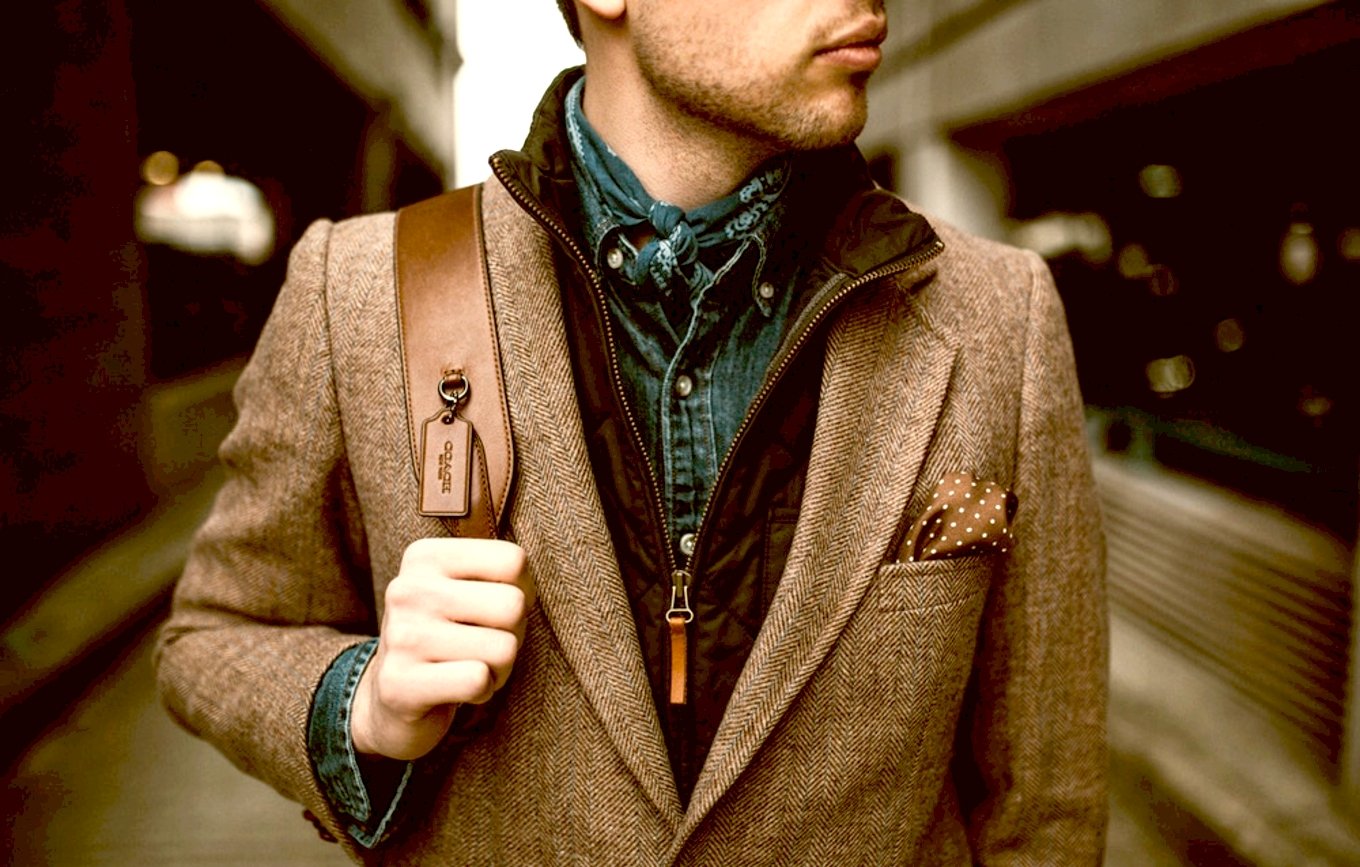
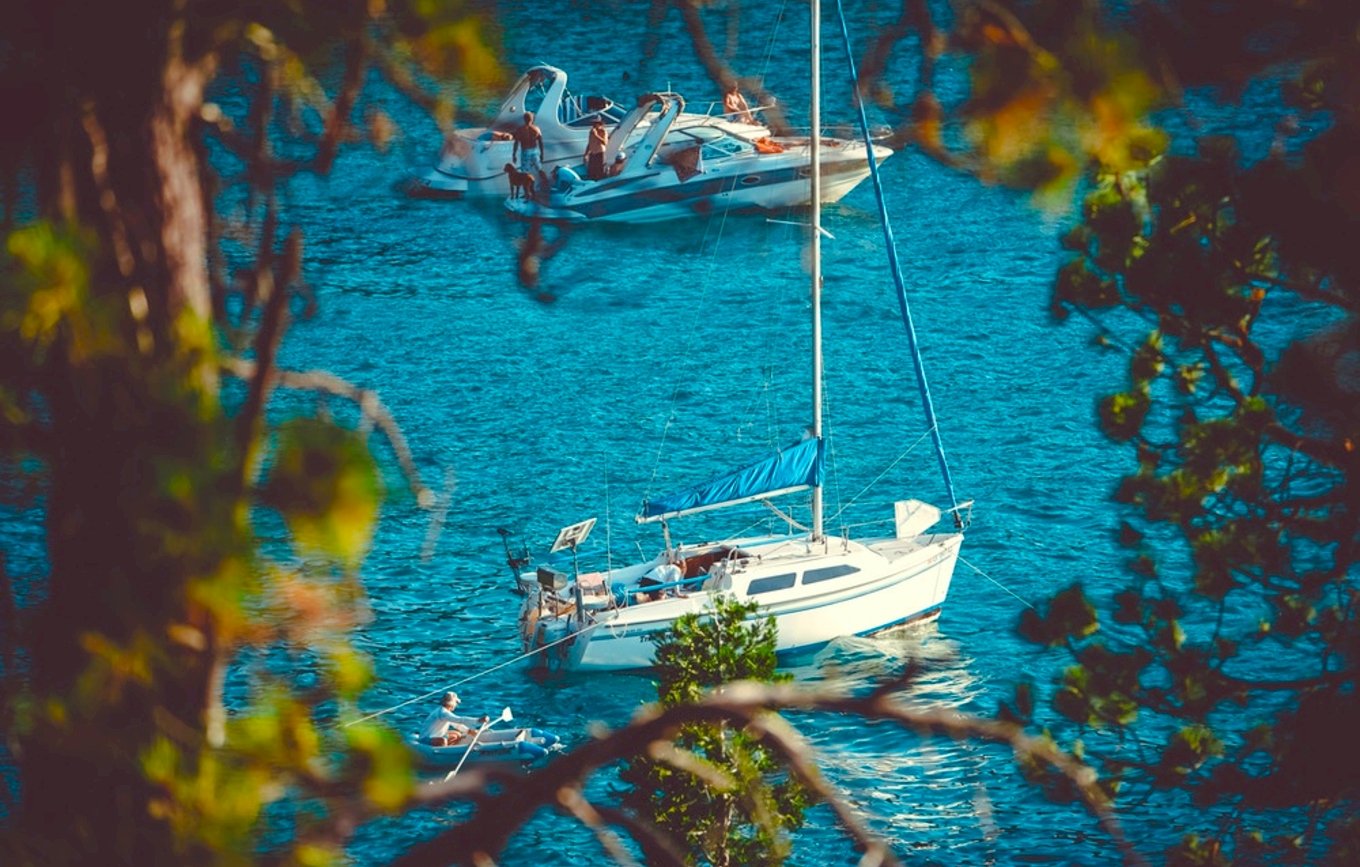
Slide the handle to view the "Before" image on the left and the "After" image on the right.
[uba]


[/uba]
This photo filter is perfect when you’re going for an old-school, faded look.
[uba] 
 [/uba]
Aden is an ideal option for when you want to tone down the intensity of your shot and soften your image.
[uba]
 [/uba]
To give your photos a slightly yellowish tint, you can always apply this photo filter to increase the contrast and brightness of your photos.
[uba]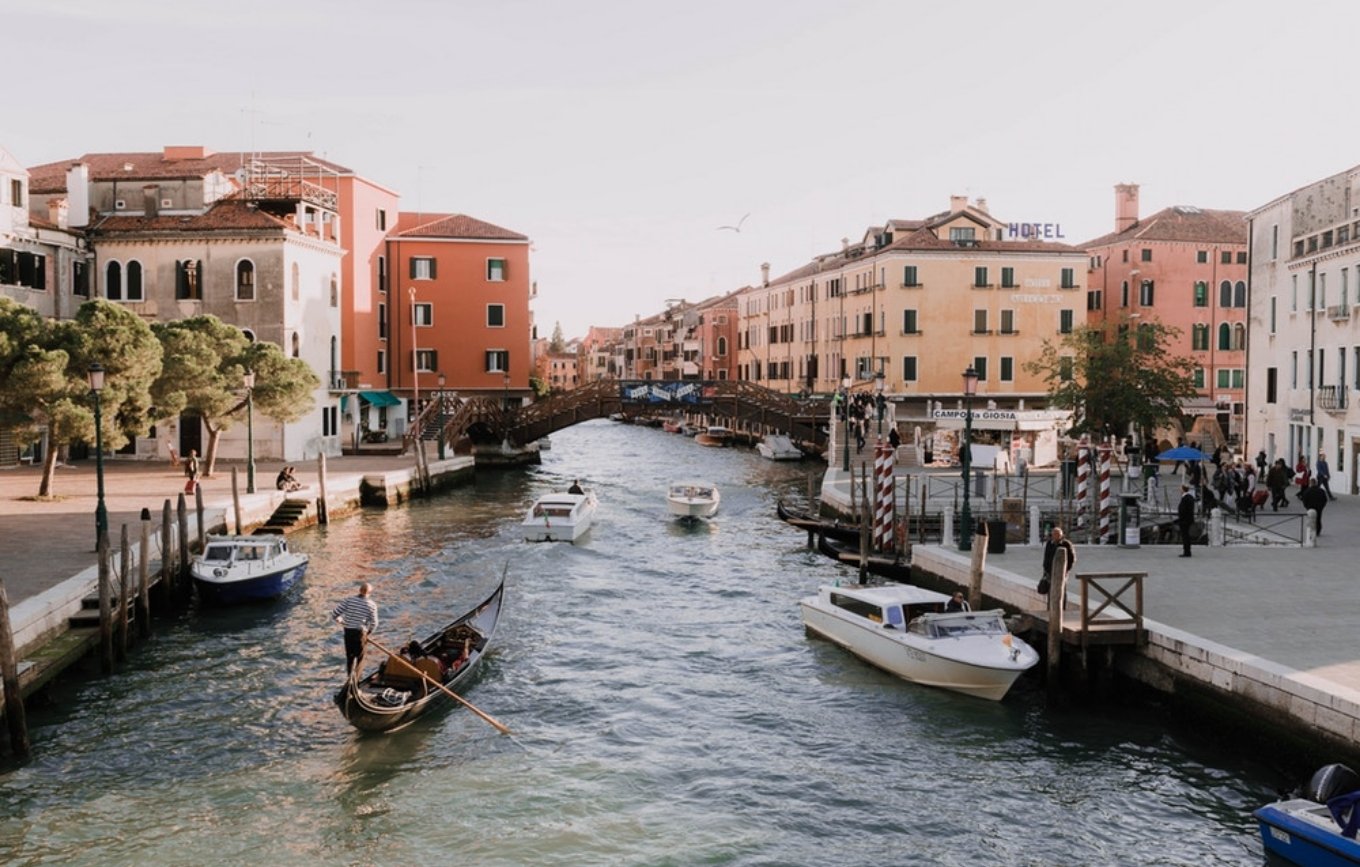
[/uba]
For nature and food pics, there’s always this popular option.
[uba]
 [/uba]
To increase the intensity of your colors, go for this popular filter on Instagram. Ideal for sunsets, this filter darkens the dark colors and brightens the light ones in your images.
[uba]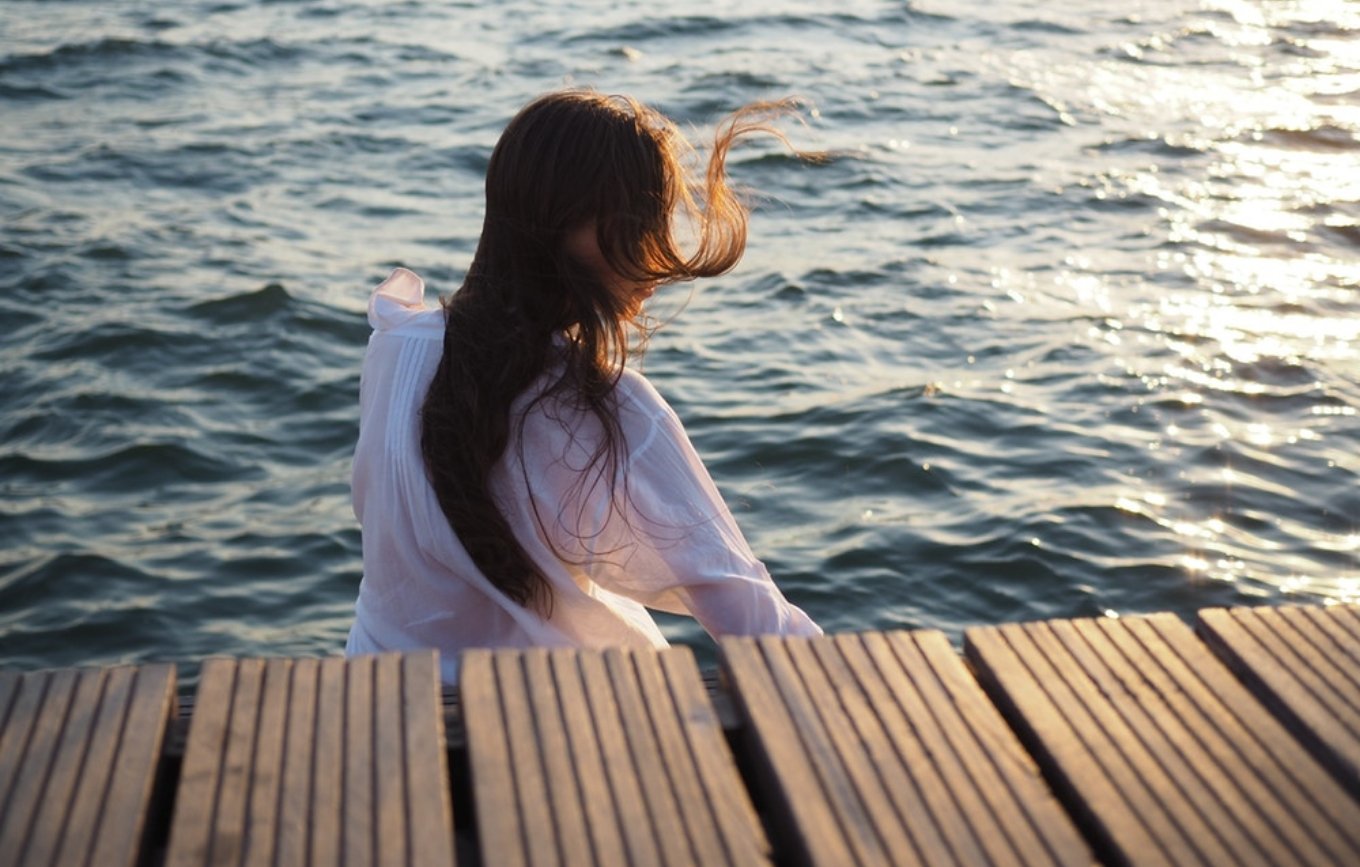
[/uba]
This filter adds a reddish-brown tint to your image and gives it a hipster vibe.
[uba]
 [/uba]
To take some color out of your image and give it a serene, peaceful look, you can try this photo filter.
[uba]

[/uba]
Try this filter when you want to give your image a modern and cold look.
[uba] 
 [/uba]
This is your standard black-and-white photo filter, perfect for portraits and other dramatic shots.
[uba]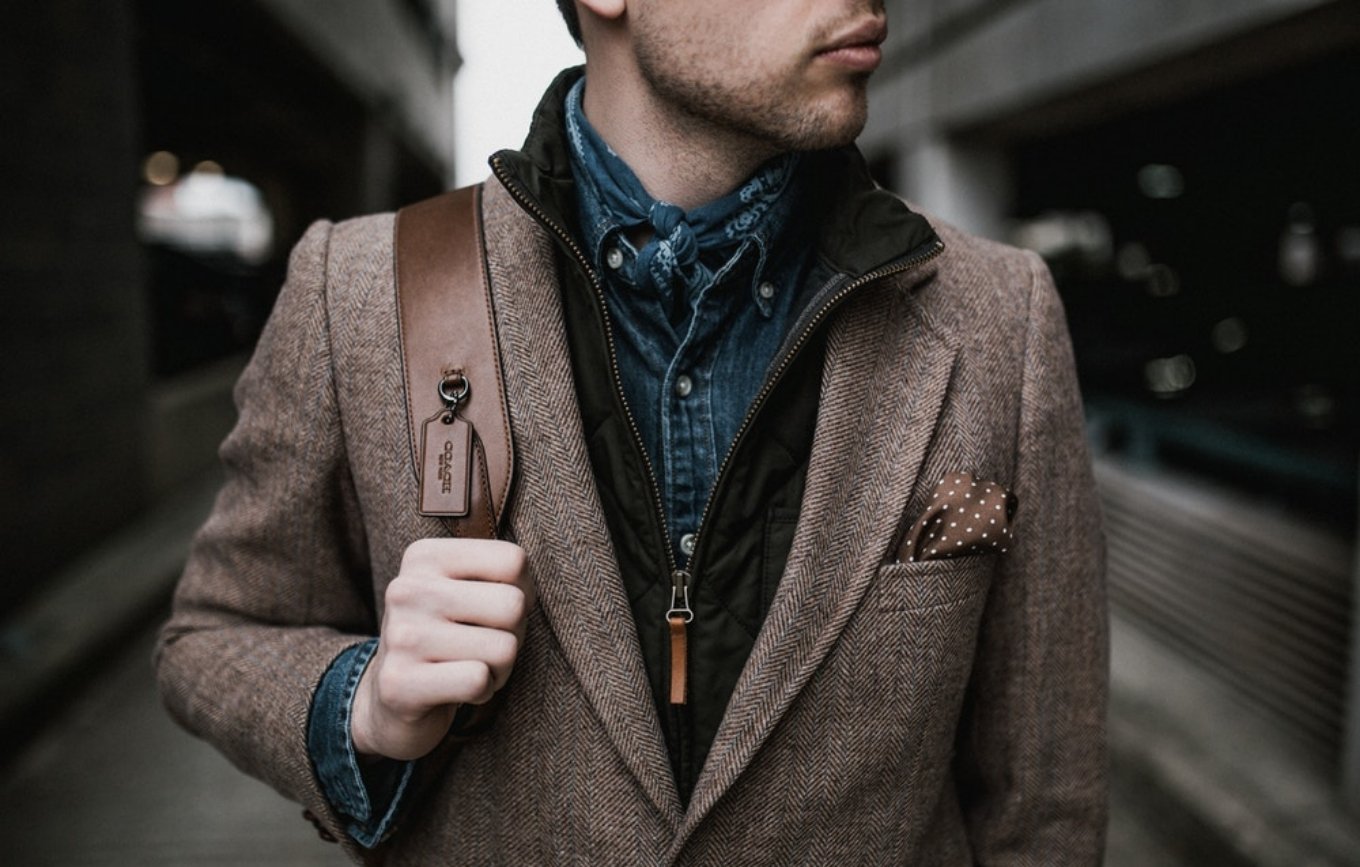
[/uba]
As seen in this example, this photo filter is perfect for all types of fashion shots.
[uba] 
 [/uba]
According to Lucille Zimmerman, this photo filter is perfect for nature and food pictures. It adds warmth and color to your picture without making it looked washed out.
[uba] 
 [/uba]
As a good photo filter for almost any type of image, this option allows you to increase the intensity of your colors and at the same time add some shadows, making it a particularly good option for food shots.
[uba]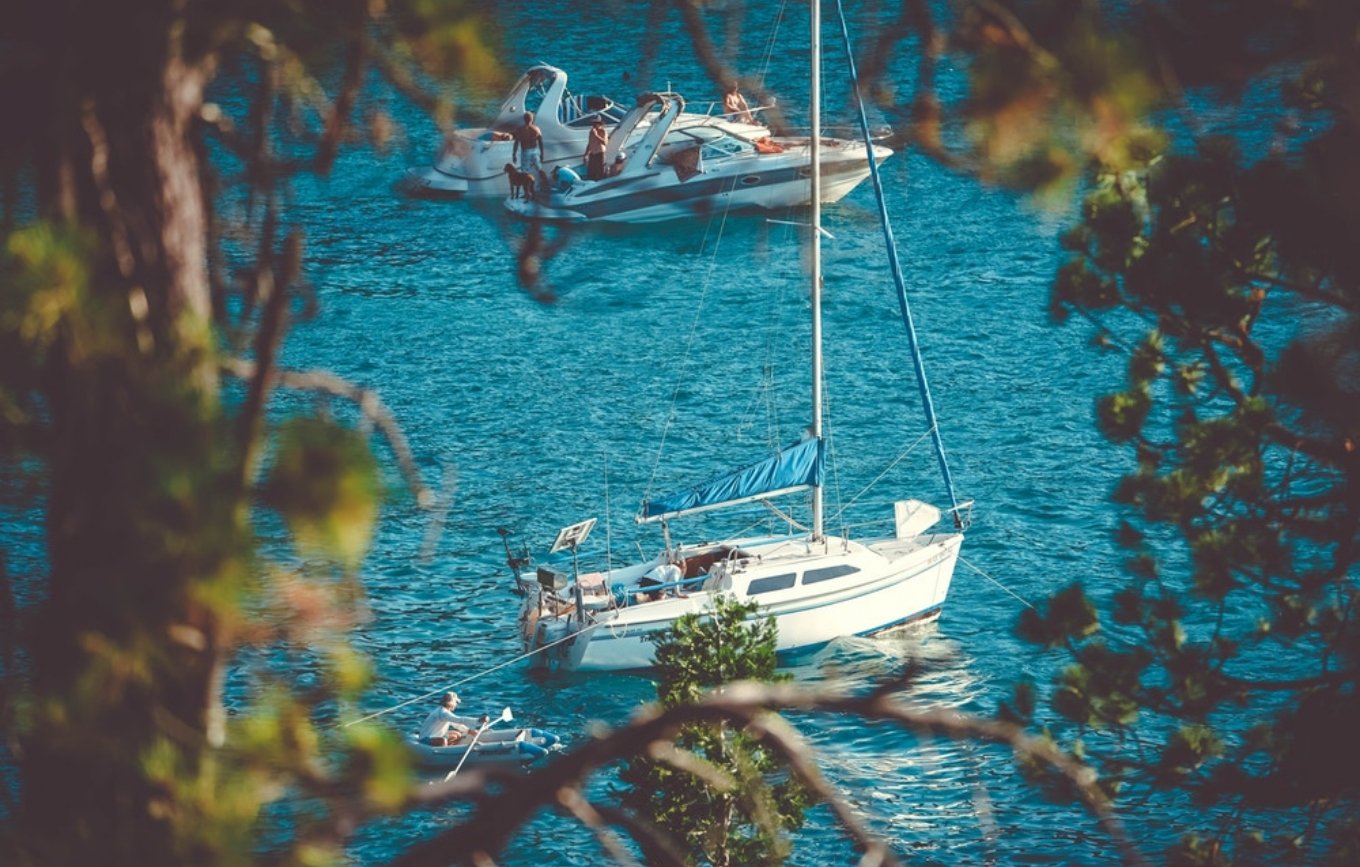
[/uba]
If you want to call attention to your subject at the center of your image, this photo filter does a good job of that by making the colors in your image warmer and reducing the brightness of the image around the edges.
[uba] 
 [/uba]
Another black-and-white filter, Moon is perfect for when you want to increase the shadows in your image and give your portrait a more intense feel.
[uba] 
 [/uba]
This filter brightens your photo and gives it a certain aged, vintage look.
[uba] 
 [/uba]
This filter will give your image a bluish-greenish tint, which is ideal for photos related to the outdoors and nature.
[uba] 
 [/uba]
Also good for portrait shots, this photo filter lowers the intensity of your colors, adds some brightness and gives it a vintage look.
[uba]
 [/uba]
To add a yellowish tint to your images and give it that ‘80s feel, you can go for this filter.
[uba]
 [/uba]
Last, but not least, this image filter adds some brightness to the center of your image and applies a blue tint throughout.

If you don't already have access to a free Visme account, you can easily create one with just your name and email at www.visme.co. Then, choose a template from one of the six different visual content categories, depending on your needs, or start from scratch and set your canvas to the exact size needed.

Once you've chosen the type of project you want to create, you can then either upload your own photos or use those included in Visme's built-in image library.
Simply type in a keyword in the search bar and select any of the images found in the library, which are free for personal and commercial use.
RELATED: How to Create Social Media Graphics and Banner Ads in Visme

Next, click on the Filter option found at the top left of your screen and choose any one of 19 different filter options, depending on the mood you’re going for.

If you’d like to create your own filter, you can easily do that by clicking on the More Options button and manually adjusting the settings. For example, you can increase the contrast in an image to make the darker parts of the image darker and the lighters sections lighter. Or, you can slightly increase the saturation to make your colors a bit more intense and make them pop more.

There are times when you need to place text over an image and ensure it is still readable. In order to accomplish this, all you need to do is decrease the opacity of the image to between 50 and 80%, depending on how important the content of your image is to your message.
To make your colors a bit brighter and stand out more, you can also manually adjust the brightness of your image.
RELATED: How to Make Your Own Printables With Visme
Whenever you want to soften the hard edges in your image and go for a softer, more glamorous look, you can apply blur effects to your image. This also comes in handy when you want to place text over your image and you want the focal point of your message to be the words, not the background image. This effect will make your text pop more, as in the example below.
[uba]

[/uba]
To apply this effect, simply click and drag the Blur slider under More Options.

Have you ever wanted to use a stunning picture in your slide deck and infographic but decided not to because the hues didn’t really match your color scheme?
One way around this is to create a color overlay for your image to ensure visual consistency across all your images. All you have to do is click on the swatch next to the Color Overlay option and choose from any of the color palettes available or apply your own by copying and pasting the hex code of the color you desire.
[uba]


[/uba]
This neat effect will also allow you to easily overlay text on top of an image, as in the example above.
If you haven’t already used our built-in image filters to spruce up your photos and add visual consistency to your slide decks, infographics and social media images, try them out now and let us know what you think below!
Design visual brand experiences for your business whether you are a seasoned designer or a total novice.
Try Visme for free


About the Author
Nayomi Chibana is a journalist and writer for Visme’s Visual Learning Center. Besides researching trends in visual communication and next-generation storytelling, she’s passionate about data-driven content.